Dehumidifier to Air Purifier Upgrade
I live in a house that has the occasional indoor dampness & mould problem after heavy rain, so years ago I purchased a sizeable dehumidifier. The way it works is similar to a standard air-conditioner except the hot and cold sides are right next to each other, to make it far more efficient and much better at condensing moisture out of the air than just running the air conditioner.
There’s one downside to my dehumidifier though – its “dust filter” is best described as a “hair filter”, because it’s just a grid of plastic that will do nothing to purify the air that passes through it. So I thought I could improve this by turning it into a proper air filter too. It’s also a bit noisier than I’d like, so finding a way to quieten it a little would be amazing too.
What’s more, right now in 2016 if you’ve ever looked up the prices of dedicated air filters to remove dust/pollen/allergens/smoke/smells, they’re super expensive for what they are. Box fans are cheap, filter material is cheap, but somehow if you add the two together into a dedicated appliance you end up spending nearly a thousand dollars to get an acceptable-micron-filtration one at 2016 prices. That’s just bonkers to me! I really thought there would be cheap Chinese knockoffs to filter the poor air in China, but I couldn’t find any that had the specs to actually work properly, only dodgy ones that wouldn’t filter everything. So, it’s time to get hacking!
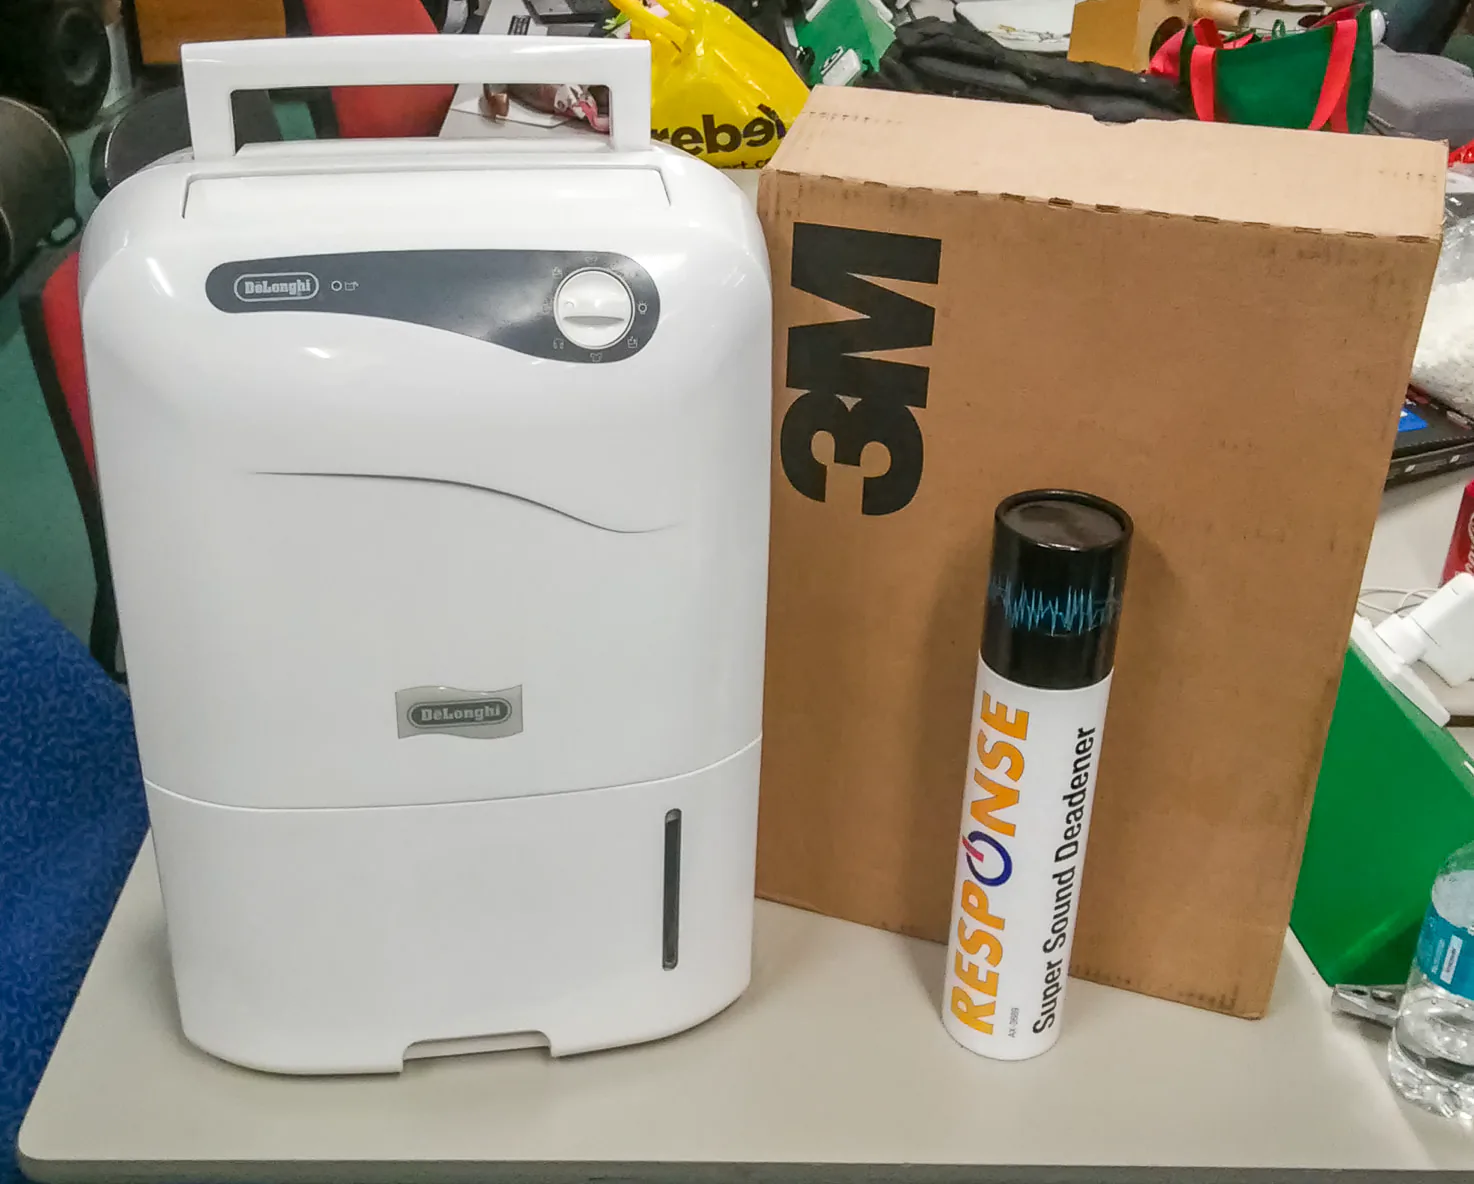
The dehumidifier in question, along with some supplies I’ll be using
In my research of filtration materials, I found that the cheapest source of stuff (including shipping) in 2016 that will go down to a fine enough micron is the filter refill packs sold for furnaces in America. Comparing the market with tech specs galore, the final material I decided upon was 3M’s Filtrete MPR1200 1. This isn’t the highest level particulate filter around but it’s efficiency in the 0.3-1.0 micron range is 85% (meaning most bacteria will be caught let alone smoke etc), its pressure drop at the standard weave packing is only 0.24 (meaning it won’t overwork the motor on my dehumidifier), it has a metal mesh built in so it will retain its shape without sagging when left vertical, and most importantly it has the highest activated carbon content of any filter on the market (meaning it will remove smells that are entirely gaseous in their nature). And check out that price for a 4-pack of big sheets of the stuff – it’s also pretty darned cheap for what it is, and a 4-pack will do me for many years with regular changes.
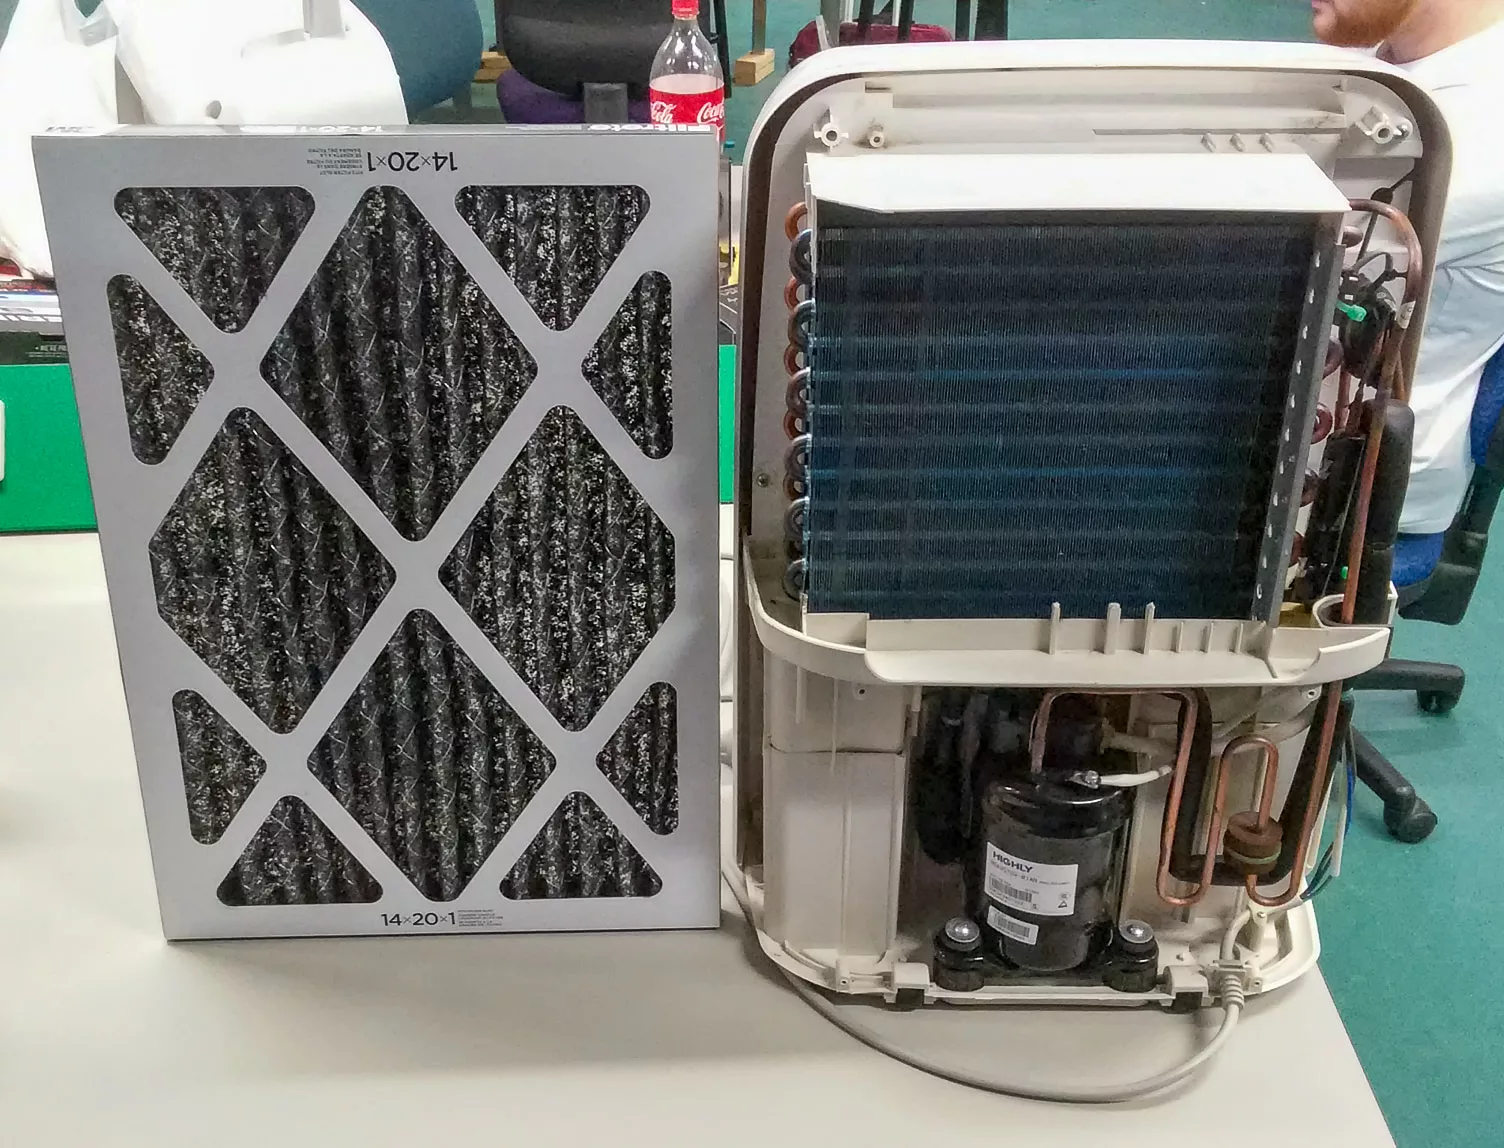
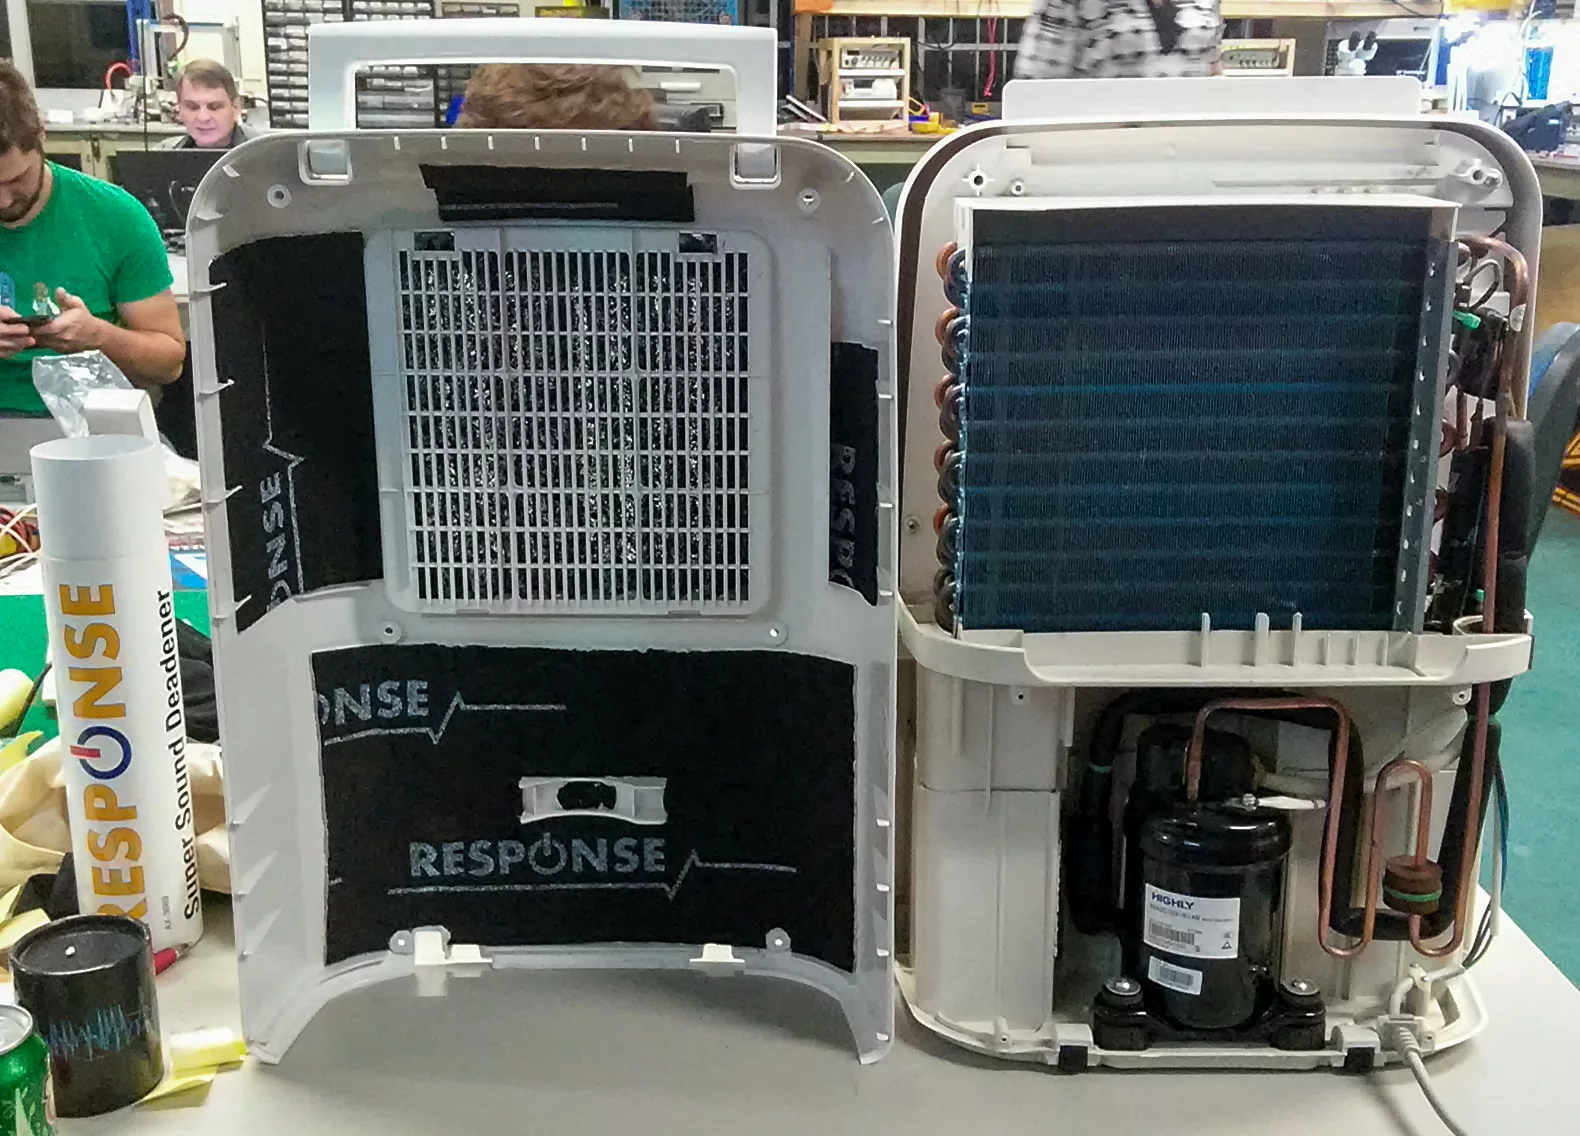
Inside the dehumidifier showing the compressor at the bottom and the evaporator (cold side) mounted right in front of the condenser (hot side), with the filter material on the left. Mmm, carbon goodness.
Swapping the filter material was as easy as removing the old plastic grill “filter”, cutting the filter material to size, and affixing it in place. For temporary testing I’m using some silver ducting tape I had left over, because I prefer its sticky properties over normal duct tape but also because it looks slightly less hacky than the usual grey stuff everyone uses. If you’re using the same filter material I am, pay attention to the mounting direction for airflow – the air needs to be filtered via the white side first, then hit the black carbon-filled side second! The filter material I used was also compressed a little more than it came so it had more pleats, to reduce the pressure drop even more.
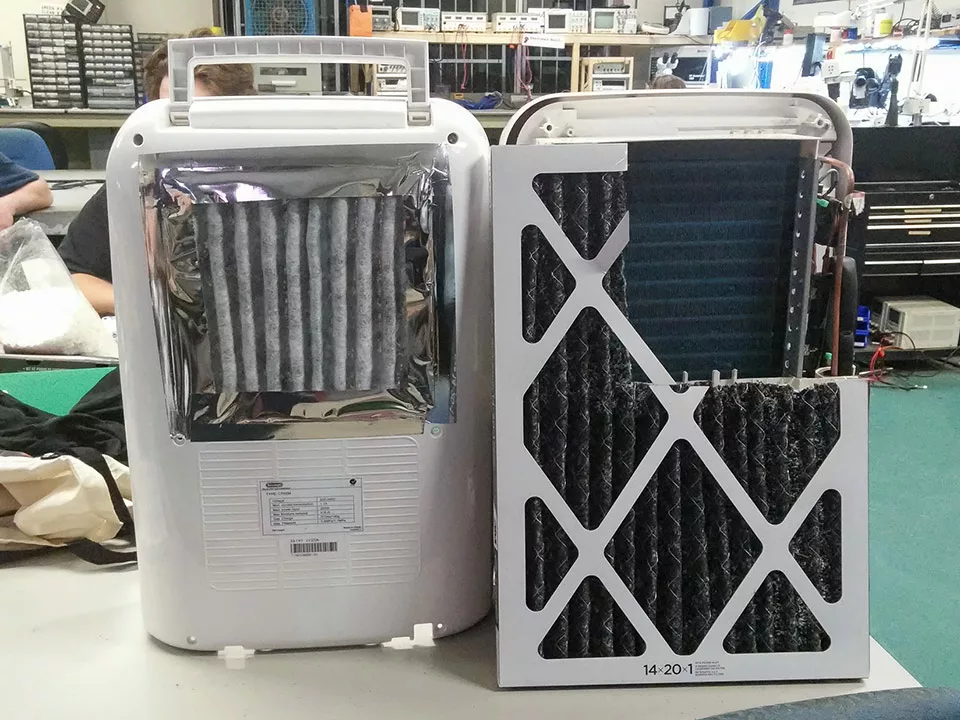
All applied to its back side, with plenty of leftover filter material to spare
Now for the next step – quietening the machine!
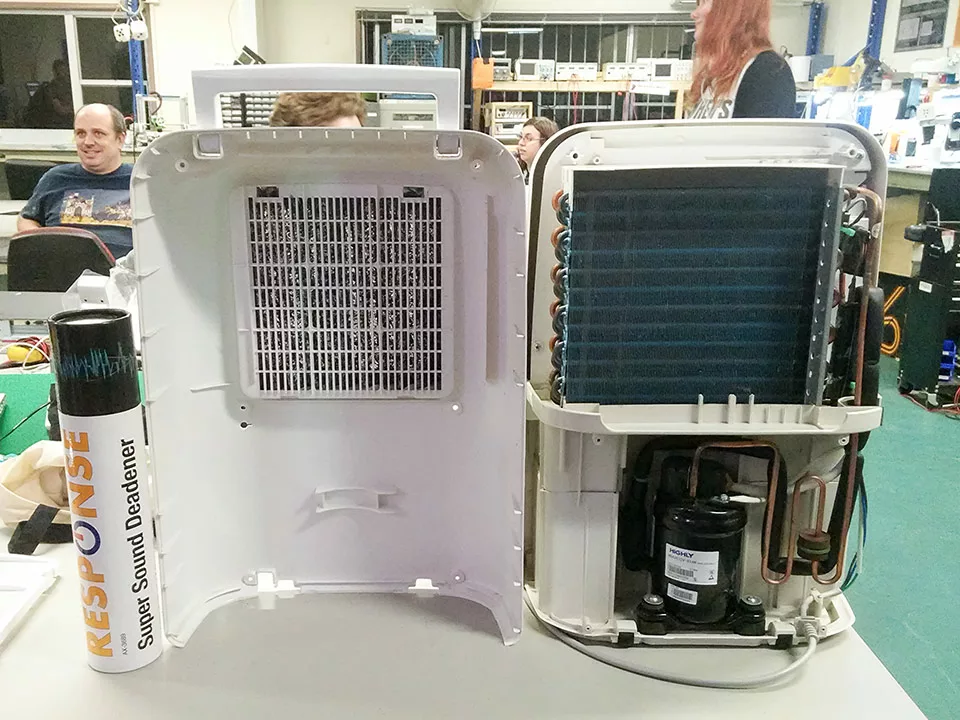
The view from inside before any soundproofing material was applied
Testing with my ears confirmed that this unit is slightly quieter with the case off than on, which sounds a little weird and unexpected, if you’ll pardon the pun. Testing with my hand showed quite clearly the cause of a lot of the device’s noise was the large back plastic case picking up vibrations from the compressor and reverberating like a sub-woofer. The easiest way to fix vibrations transmitted like this is to add some mass to the panels, preferably slightly decoupled from the final plastic layer. But why not go all out with some sound absorbing foam too! I had some leftover butyl/foam sound deadening material 2 from another project, so I applied it to the interior of the case.
I’m (not) picking up good vibrations, it’s (not) giving me the excitations
With that all done, it was time to put the screws back in, test it and… holy heck it’s now much quieter! Still audible, but nowhere near as annoying. I tested the filter’s effectiveness by lighting some incense in a small sealed room, stinking the whole room up, then turning on the dehumidifier. The incense smell was undetectable after fifteen minutes, so I know that works well too!
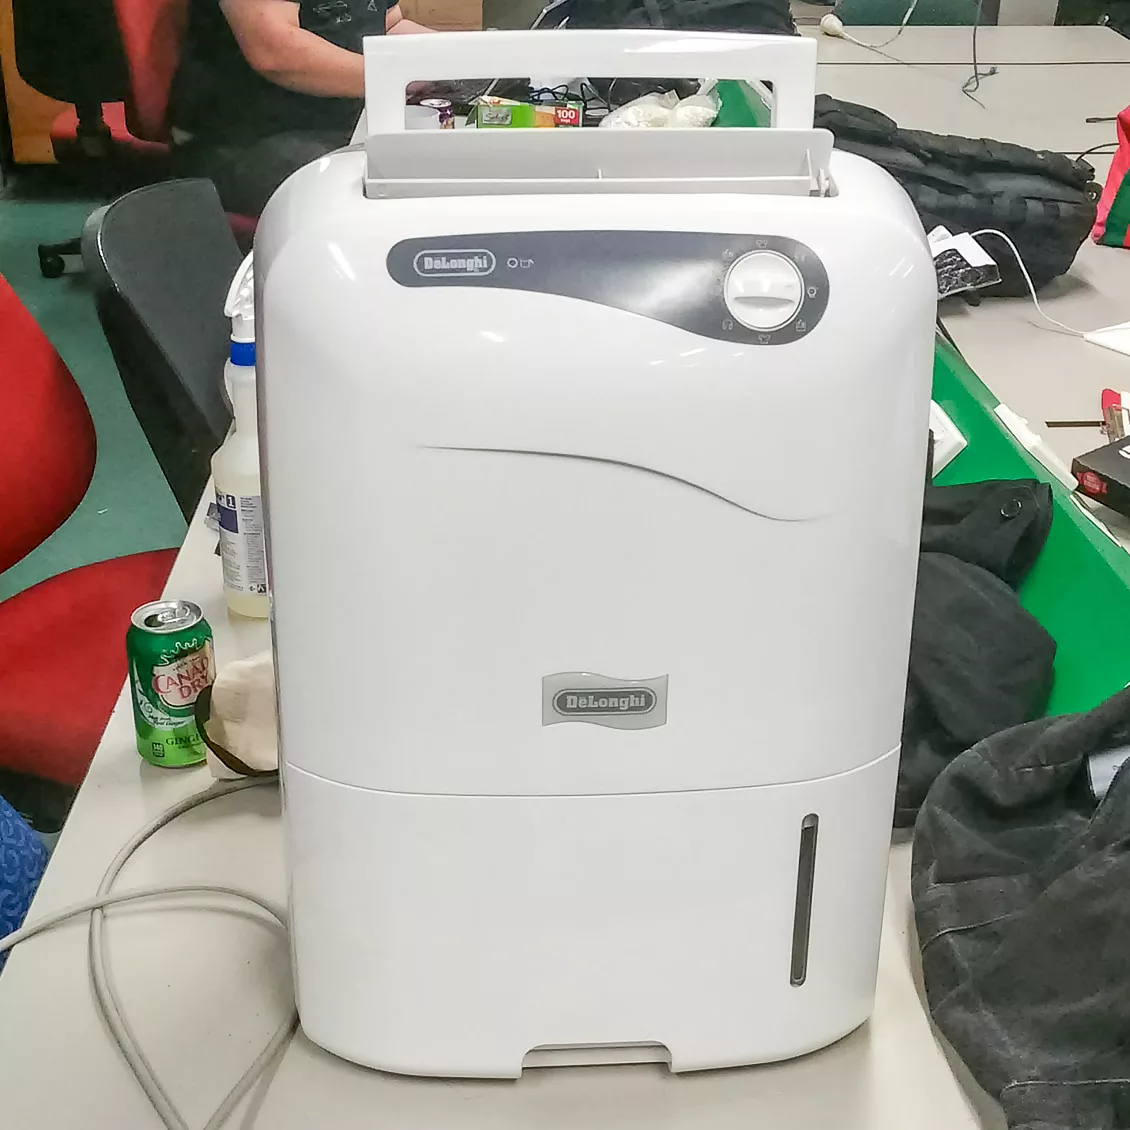
Finished machine from the front – undetectable from stock
I now have a many-hundreds-of-dollars-equivalent air filter as well as a dehumidifier. Woot!
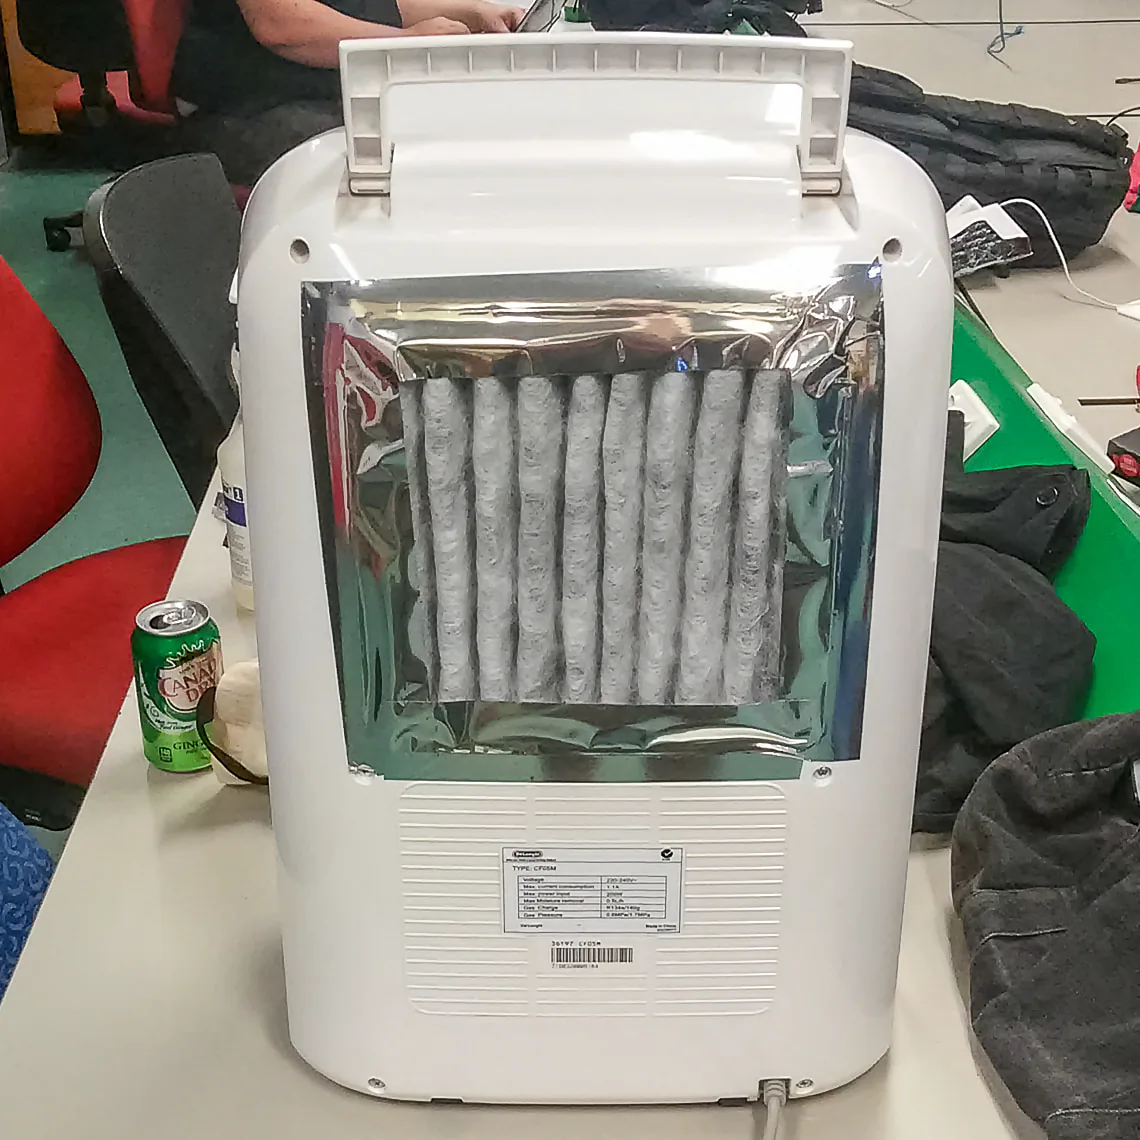
Finished machine from the rear – a little hacky looking, but function over form, amirite?
My verdict: totally worth the money and the time!
Like this article?
Did you find this useful? Donate to my Ko-fi, comment below or drop me a line to say thanks! The more donations/encouragement I receive, the more likely I am to write more articles, guides & tools like this in the future.
Similar Posts

Gradientment, the Image Gradient Map Generator
Gradientment converts your 2D images into two overlapping 1D gradients & spits out the highly-compacted CSS used to generate these gradient maps, for perceived-faster progressive image loading or for artistic purposes. Sure, you could use...
New Andotrope Website
This is just a quick update to say that I’ve launched a new website for my Andotrope omnidirectional displays! Having a dedicated space to promote them makes it easier to share them with others. Plus,...
Years later but I’m here to say that I copied you- Thanks for doing all the research on this!